Thursday, September 9, 2010

Cornbread Shortcakes with Maple Blueberries and Drunken Cream

My roommate recently threw a dinner party and requested that I make a dessert using cornmeal.  He had acquired some white cornmeal from a camp that mills their own corn where he used to attend as a kid.  I wasn't quite sure where to go from there, but Derek's mom had just invited us to a "pick-your-own" blueberry farm that same day, so I knew the berries would be involved somehow.  From there, start with a corny take on an old summer favorite, add a little Matson-family maple syrup here and there, and a few simple components turn into something mouth-watering...

Recipe:

Cornbread Shortcakes:
-1 c flour
-1/2 c sugar + additional for sprinkling 
-1 tsp baking powder
-1 tsp baking soda
-1/2 tsp salt
-1 c cornmeal
-8 Tbsp butter, cut up
-1/2 c milk or cream

Maple Blueberries:
-2 c fresh blueberries
-juice and zest of one lemon
-1/4 c maple syrup

Drunken Cream:
-1 pint whipping cream
-whiskey
-maple syrup

->  Mix the dry ingredients together.  Add the butter, either cutting in or using a mixer at medium speed until dough is the texture of course meal.  Add the milk until a crumbly dough forms.  Form into a ball of dough and then flatten into a thick disk.  

Cover and refrigerate for at least 1 hour.  

Meanwhile, coat blueberries with lemon and maple syrup.  You can adjust the amount of maple syrup to your taste and according to the natural sweetness of your berries.  

When dough has chilled, preheat oven to 350 degrees.  Roll chilled dough out to a 3/4-inch disk.  Cut the disk into eight wedges.  Place on a cookie sheet, allowing enough space for wedges to spread.  Brush with milk and sprinkle with sugar.  

Bake for approximately 15 minutes or until somewhat firm and golden.  

While shortcakes cool, whip cream to stiff peaks, then add as much whiskey and syrup as the cream will hold and as your tastes prefer.  

Plate shortcakes with cream and berries on top and enjoy as a decadent but fresh summer dessert!

Saturday, September 4, 2010

Orzo Fennel Salad

Pasta salads have come to be a symbol of summer.  No summer picnic, potluck, or celebration is complete without one.  With that much pasta salad in demand each summer, there are plenty of opportunities to change it up each time, incorporating a new type of pasta, sauce or dressing, and fresh vegetables and herbs each time.  The orzo salad below makes use of the gorgeous red and yellow cherry tomatoes that have been so prolific at our farmer's market all summer as well as fresh fennel straight from my garden.  Mix and match the ingredients from this version with whatever fresh local veggies and herbs you have on hand.  And don't forget, just like with my grandma's famous potato salad, the key is always to dress it while it's hot...  :)
Recipe:
-1-2 c orzo
-2-3 c cherry tomatoes
-chopped fresh herbs, such as fennel fronds, mint, and basil
-juice of one lemon
-olive oil
-salt and pepper

->  Cook orzo in boiling salted water until al dente according to package directions.  Meanwhile, halve your cherry tomatoes and chop your fresh herbs.  Mix the lemon juice and olive oil and season well with salt and pepper.  When the orzo is finished and drained, mix it while it is still hot with the tomatoes, herbs, and dressing.  Dressing the pasta hot is key for the flavors to really mix and be absorbed well.  Taste for seasoning, adding more salt and/or pepper if needed.  Refrigerate until cold or eat room temperature.  

~*TIP:  This winter when there are fewer fresh herbs and vegetables on hand, but you still crave cool, refreshing pasta salad, try a different version of this orzo salad that makes use of canned and preserved vegetables, etc.  You can incorporate sliced roasted red peppers, pickled artichokes, calamata olives, or even some tuna packed in olive oil.  If you're growing parsley in your garden, you'll probably be able to find some still green even with snow on the ground to chop up and include.  Throw in some feta cheese, and it will be a hit.  My roommate Rachel makes something similar to this, and we can never get enough of it. *~

Thursday, September 2, 2010

Veggie Skillet

This is one of my favorite breakfast, brunch or even dinner dishes to throw together.  For this one, I used red and yellow grape tomatoes from the farmers market and kale that I had blanched and frozen from my garden. But you can use just about any vegetables that are in season and finish with your favorite fresh herbs and cheese.  I love finishing with fresh basil and an herbed goat cheese.  mmmm....
Recipe: 
-1-2 eggs per person
-1/2 c veggies per egg (tomatoes, kale, spinach, summer squash, zucchini, sweet potato, onions, or anything else you enjoy!), chopped
-chopped fresh herbs (basil, cilantro, thyme, rosemary, etc.)
-cheese (herbed goat cheese, parmesan, cheddar, etc.)

->  Saute veggies in a hot skillet in olive oil until tender.  If you're using a harder veggie like sweet potatoes, you may want saute them in a covered pan and cook until fork-tender, adding quicker-cooking veggies later.  Season with salt, pepper, and any dry herbs you may be using.  Meanwhile, scramble eggs and season with salt and pepper.  Add eggs to veggies and stir periodically until scrambled and cooked.  Finish with fresh herbs and cheese.  
~*TIP: One of the great things about gardening and buying locally and seasonally is that produce is at its most delicious, most abundant, and therefore generally least expensive at this time.  Sometimes your favorite garden veggies are too abundant to use all at once, or you buy up a good deal at the farmer's market.  To save time, money, and veggies, you can freeze them for later use.  Just chop the veggies how you will use them for your favorite recipes, blanch them in boiling hot water, plunge them into ice water to stop the cooking, and pack them into freezer-safe containers or ziploc bags in the amounts you usually use them.  Pull out a bag whenever your favorite recipe requires!  *~

Sunday, August 29, 2010

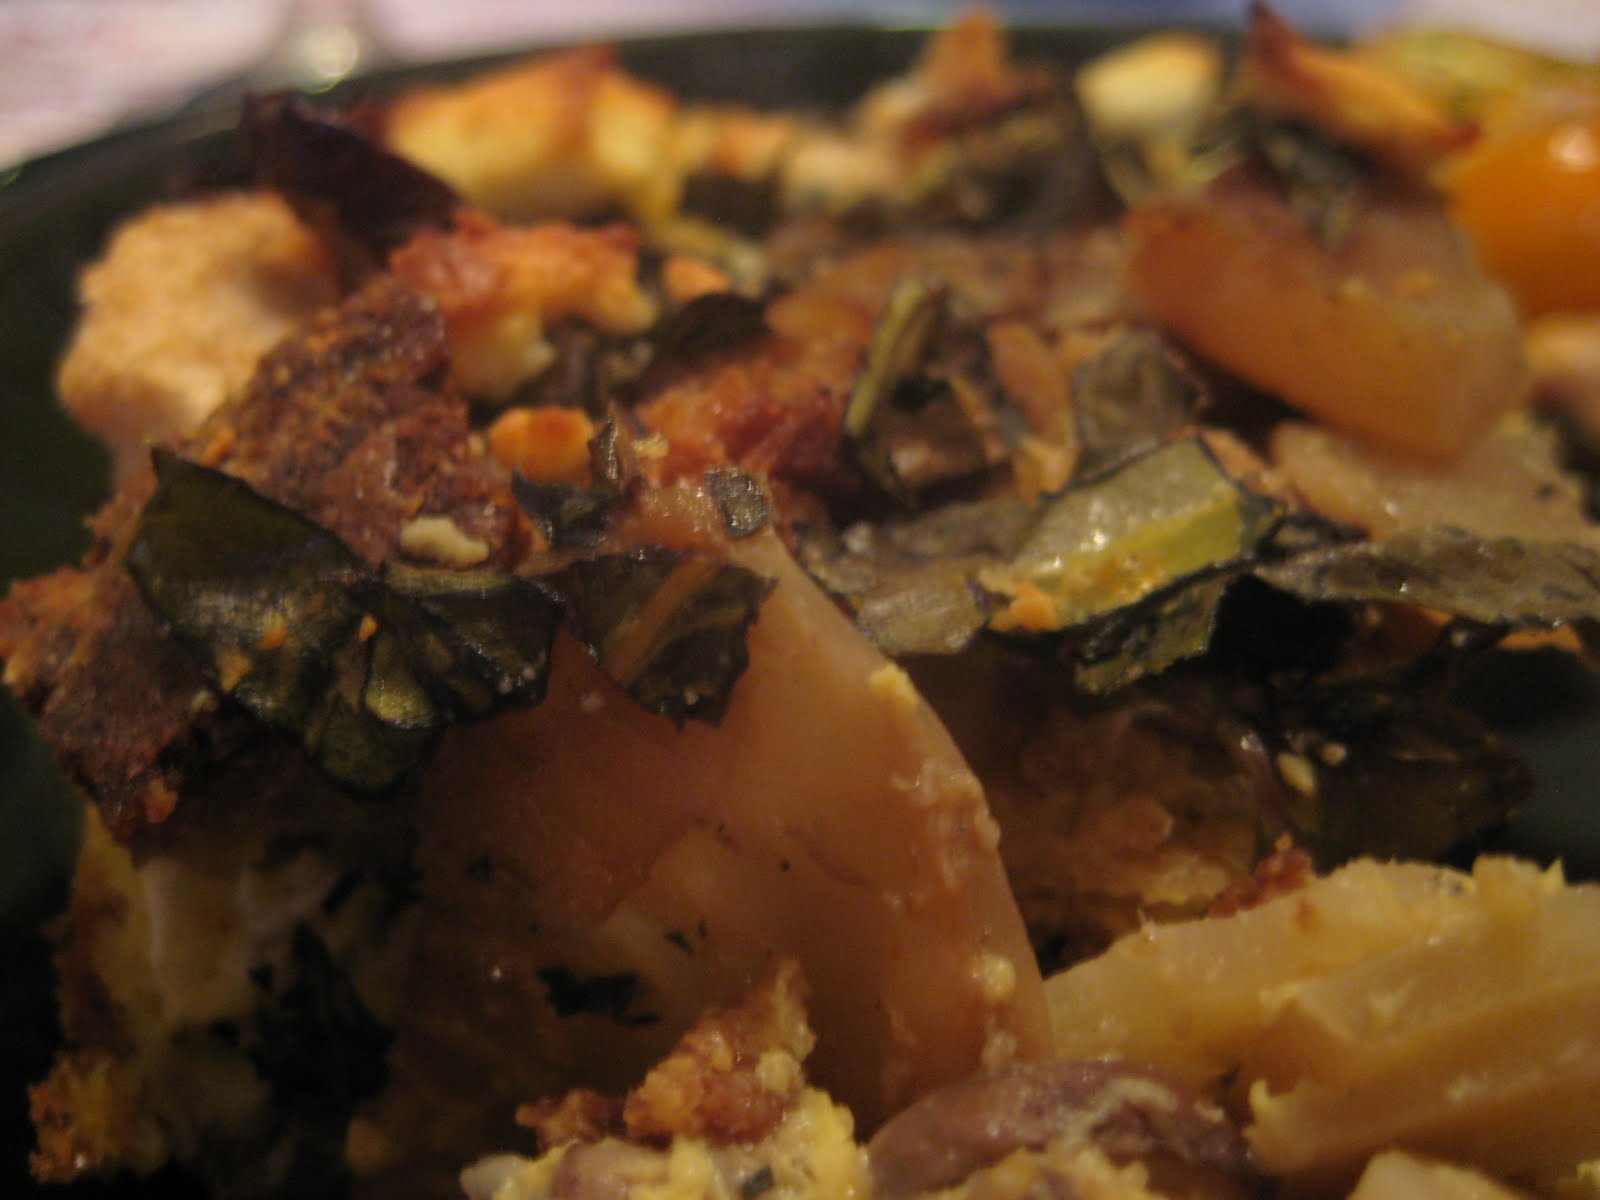
Savory Kohlrabi Bread Pudding

The kohlrabi never ends...  I made this recipe to use up some of the last of it from my garden, but it could also be made with broccoli, asparagus, artichokes, or any number of your other favorite veggies.  Savory bread puddings like this one are also great ways to turn stale bread and a few eggs into a delicious entre.  My favorite part of serving it for dinner is that I can make it up ahead of time, letting the bread soak up all of the egg in the fridge, and then pop it in the oven at dinner time.  This makes bread puddings ideal for nights on which you're expecting dinner guests.  If you make it ahead of time, you can focus your attention on creating a yummy dessert or tasty sides or just greeting your guests instead of slaving away up to the last second in the kitchen.  Try it out.  
Recipe:
-olive oil
-1 large onion
-1/2 tsp of dried thyme
-4 cloves garlic
-2 c thinly sliced baby bella mushrooms
-2 medium kohlrabi, halved and thinly sliced
-1 bunch kohlrabi greens (about ten leaves), thinly sliced
-salt
-pepper
-8 eggs
-1 c milk
-2 Tbsp dijon mustard
-small bunch parsley, chopped
-5 c cubed stale bread
-4 oz goat cheese, crumbled (herbed or plain)

->  Saute onions in olive oil in a large skillet over medium heat until softened.  Add thyme and garlic and mix.  Then add mushrooms and kohlrabi.  Season with salt and pepper.  Cover and cook until kohlrabi is fork-tender, stirring often to prevent sticking.  Remove from heat, add kohlrabi greens, and cover until wilted.  

While greens wilt, whisk together eggs, milk, mustard, and parsley.  Season with salt and pepper.  

Now, in a buttered 9x13 pan, layer the sauted vegetable mixture, bread, and goat cheese like lasagna.  Layer half of the bread cubes, then half of the veggies, one third of the goat cheese, the other half of the bread, the other half of the veggies.  Save the rest of your goat cheese for later.  Pour egg mixture evenly over top.  Cover and refrigerate anywhere from 20 minutes to overnight, but I think a few hours is ideal.  

After chilling, remove the pudding from the refrigerator, allowing it to come back to room temperature while the oven preheats at 375 degrees.  Sprinkle the last two-thirds of the goat cheese over the top and bake for 45 minutes until firm in the middle and golden brown on top.  Let stand about 10 minutes before slicing and serving.  

~*TIP:  I throw any stale bread I have into a bag in the freezer to be later reincarnated as croutons, bread crumbs, or in yummy recipes calling for stale bread like the one above.  Check out these general savory bread pudding instructions from the Splendid Table  *~

Wednesday, August 25, 2010

Buttermilk Panna Cotta with Blackberries

It's getting pretty melty in the photo below, but it was still delicious.  This panna cotta uses buttermilk so that it comes out a little lighter and more tangy than traditional panna cotta made from mostly cream.  As my note below mentions, that means this dessert also comes along with buttermilk's many health benefits to boot.  I top this panna cotta with a blackberry sauce and fresh blackberries, as that's what was in season and free at the time thanks to our recent urban scavenging.  But you could top it any number of sauces, jams, or fresh fruits depending on what's in season.  
Recipe:
-3 Tbsp water
-1 packet (1 1/2 tsp or 7 grams) unflavored gelatin
-1 1/2 c heavy cream
-1/2 c sugar
-2 c buttermilk
-1 tsp vanilla extract
-blackberry jam
-juice and zest of 1/2 lemon
-fresh blackberries

->Sprinkle gelatin over water in a small bowl and let stand until soft, about 10-15 minutes.  

Meanwhile, combine 1 cup of the heavy cream and the sugar in a saucepan over medium heat, stirring constantly.  Once sugar is dissolved and cream begins to simmer, remove from heat immediately.  Add the dissolved gelatin to the cream-sugar mixture.  

Mix remaining cream, buttermilk, and vanilla together in a large bowl.  Add hot cream-sugar mixture.  Pour mixture into 8 ramekins or other small dishes/bowls, dividing equally.  Refrigerate until set (like creamy jello), which will be several hours or overnight.  I did mine in the late afternoon, and it was set in time for an after-dinner dessert.  

When ready to serve, add lemon juice and zest to jam.  It should be the consistency of a thick syrup.  

Then unmold your panna cotta by dipping the ramekins in hot water for about 30 seconds (no longer!).  Invert the serving plate over the ramekin, and flip the panna cotta over onto the serving plate.  If this step scares you, you could also just serve the panna cotta in the ramekin.  

Top with blackberry jam mixture and garnish with fresh blackberries to serve.  

~*TIP:  As mentioned above, buttermilk is brimming with added health benefits that make it a great choice over other milk products.  Traditionally, buttermilk was made by allowing the liquid left over from the butter churning process to ferment naturally.  However, today's buttermilk sold in stores is generally made by adding live active bacteria cultures to milk, similar to how yogurt is made.  Therefore the "live active cultures" that everyone seeks out in yogurt lately are also present in buttermilk, along with all of their health benefits.  Try subbing buttermilk not just in pancakes, biscuits, and muffins, but also in many recipes that call for cream or sour cream.  Everything from what you top your bake potato with to what you make your ice "cream" out of...  Trust me, you won't be disappointed, and your digestive tract and immune system will thank you for it.  *~

Friday, August 20, 2010

Quick-"Pickled" Beet Salad

This spring and summer, I've grown an abundance of Golden and Chioggia beets.  If you slice into the Chioggia beets raw, you'll be delighted by a pattern of alternating red and white rings.  Cooked, they come out pink like the ones below.  Just like with pickled beets, coating them with vinegar is a great way to bring out their natural sweetness.  Here I use apple cider vinegar, but Balsamic vinegar, which already has its own natural sweetness, is a great way to dress beets as well.  One of my favorite pairings is beets with goat cheese, so a salad using both has become a staple at my house.  
Recipe:
-2 beets, cooked until fork-tender and peeled
-1 small onion, sliced thinly
-vinegar (here I used apple cider vinegar)
-oil
-Dijon mustard
-honey
-salt and pepper
-2 c shredded greens (here I used the beet greens)
-1 oz almonds
-2 oz goat cheese

->Combine equal parts oil and vinegar with a small spoonful each of spicy mustard and honey.  Season with salt and pepper.  Cut your cooked beets into large chunks.  Combine with sliced onions and cover with oil and vinegar dressing.  

Meanwhile, as beets soak in the vinegar, shred or tear your greens and plate them.  Here I use the beet greens, but spinach or lettuce  would also be great.  Toast whole almonds either in a dry pan on the stove top or in the toaster oven (one of my favorite shortcuts), being careful to toast them only until they are slightly darker brown and aromatic, not letting them burn.  Either crush or chop the toasted almonds.  

Pour your quick "pickled" beet mixture over the greens.  Top with almonds and crumbled goat cheese.  Enjoy as a main course (as with the nuts and cheese, it will fill you up just fine) or as a side.  
~*TIP:  One way I save time when cooking my beets is, rather than roasting them, I steam them in the microwave.  To do this, I slice off the tops and bottoms of the raw beets, put them in a microwave-safe bowl, fill the bowl up with water to cover the beets halfway.  Cover with another bowl to form a dome over the top.  Microwave for about 5 minutes at a time until beets are fork-tender.  Remove from liquid and peel.  The liquid itself makes a great base to dressings and sauces as well or just a refreshing drink.*~

Saturday, August 14, 2010

Cabbage Au Gratin

This is a tasty way to use up lots of cabbage if you're getting an influx of them in the garden.  It makes a great side dish or vegetarian entre.  You'll be so caught up in eating this comfort food casserole that you won't even notice that you're getting a big healthy dose of cabbage for dinner.  It's also great because cabbage is almost always in season.  Mix it up by using your favorite cheese or favorite herbs, and enjoy.
Recipe:
-1 1/4 c shredded cheddar
-1 small head cabbage or 1/2 a large head
-3/4 c broth (vegetable is what I used, but use whatever you have around)
-1/2 c cornmeal
-2 Tbsp thyme
-1 Tbsp dill
-2 Tbsp dijon mustard
-salt and pepper

->Preheat oven to 350 degrees.  Toss 1 c of cheese with remaining ingredients.  Pour into an 8x8 inch pan, and bake covered for 45 minutes.  Uncover, add remaining 1/4 c cheese, and bake an additional 10-15 minutes or until cheese is golden and bubbly.  

~*TIP:  I try to keep vegetable broth on hand in the freezer at all times.  I just save up any vegetable pairings, especially garlic and onion peels, parsley stems, and celery ends, keeping them in a container in the freezer.  Avoid pepper pairings as they will make your broth bitter, and note that beet pairings will make your broth purple.  Whenever my container fills up, I empty it into a sauce pot, cover with water, and bring it to a boil.  Then I reduce the heat and simmer until it reduces down to a nice golden color and the veggies are all a mush, about 30-40 minutes.  Strain.  Let cool, and then store in containers in the freezer for future use!  *~